Race Strategy
Umamusume Running Styles: Runner, Leader, Betweener & Chaser
Choose a race plan first, then align aptitude, stats, skills, and simulator checks with the position your Uma must hold.
By Uma Race Simulator Editorial Team · November 4, 2026 · 9 min read

The four Umamusume running styles at a glance
A running style tells the race model where your Uma sits in the pack and when she spends energy to improve position. It does not replace aptitude, skills, or a suitable stat spread.
The client says Runner, Leader, Betweener, and Chaser. Guides may say Front Runner, Pace Chaser, Late Surger, and End Closer. This Umamusume running styles guide compares the names by position and passing plan.
| Style | Typical position | Main pressure | First questions |
|---|---|---|---|
| Runner | At or near the lead | Hold the pace while spending energy early | Can the build claim the front and still finish? |
| Leader | Just behind the leaders | Stay close, then accelerate without getting boxed | Is there enough Power and space to pass? |
| Betweener | Middle or second pack | Find a lane and close late | Will skills activate when the pack opens? |
| Chaser | At the back | Cover the largest gap in the final run | Does the course leave time and room to overtake? |
This is a role map, not a ranking. Course layout, field, version, and simulator rules can change the result.
Choosing Umamusume running styles before you train
When choosing Umamusume running styles, start with the target race. Check distance, surface, and aptitude, then inspect the final straight. A poor aptitude may cost more to fix than the style is worth.
Define the job: a Runner establishes the lead, a Leader tracks the front group, a Betweener moves through traffic, and a Chaser covers a late gap. Write it down before choosing support cards.
That sentence helps diagnose whether the issue is position, energy, eligibility, or track length.
- Set the race. Record the course, distance, surface, weather, and event rules you actually need.
- Check aptitudes. Keep the style and distance at a workable rank before spending points on polish.
- Define the job. Name the position to hold and when the runner should move.
- Find the constraint. Check speed, energy, Power, Wit, and skill eligibility.
- Test the plan. Compare equivalent simulations, changing one input at a time.
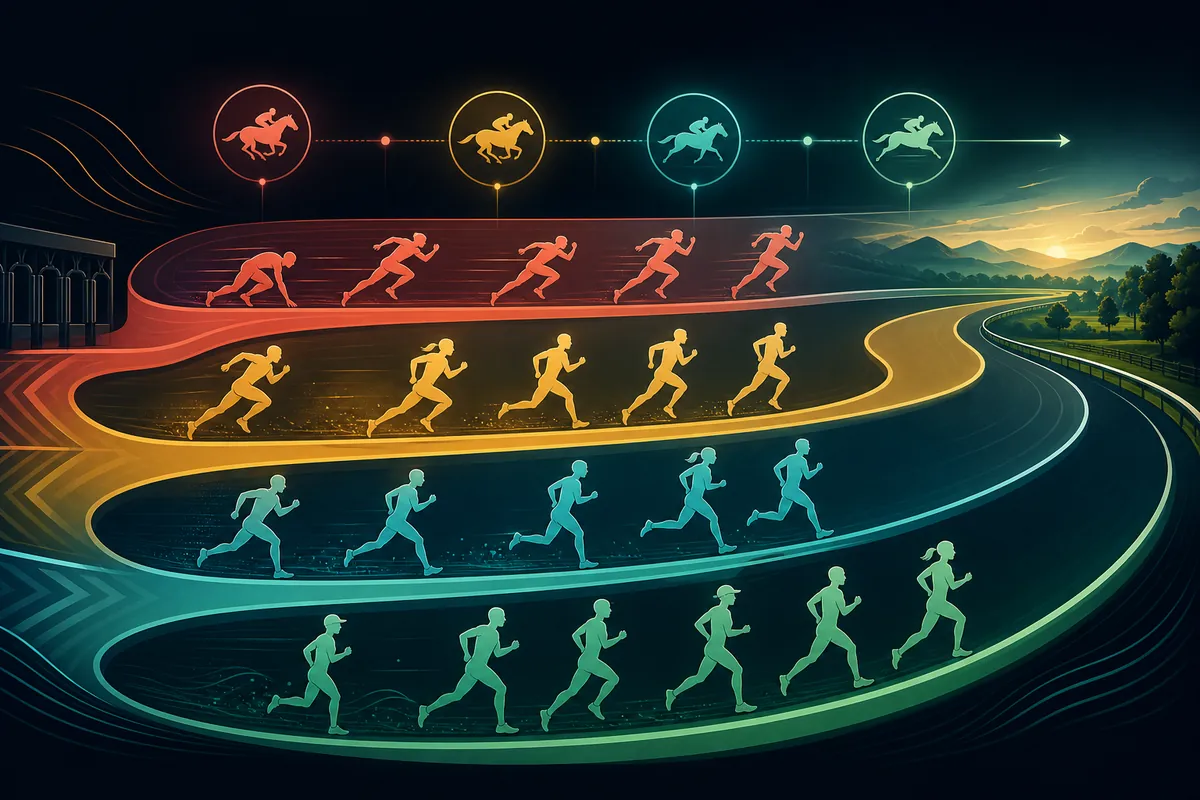
Umamusume running styles: Runner, Leader, Betweener, and Chaser
Each style trades position, energy, passing distance, and timing differently. These are plans to test, not promises of a win.
Runner (Front Runner)
Position: Moves to the front early and tries to control the pace.
Plan: Claim a clean lead, preserve energy, and defend it in the final phase.
Stat focus: Speed sets the ceiling; Stamina protects a long lead. Power helps at the start and on hills.
Skill fit: Check start, positioning, and front-running conditions before buying.
- Several Runners can contest one lane and spend extra energy.
- A long final straight can erase an early lead.
Leader (Pace Chaser)
Position: Stays close to the front group without taking the lead immediately.
Plan: Track the leaders, keep a useful lane, and pass when the race opens.
Stat focus: Speed and Power are common priorities. Longer races raise Stamina pressure.
Skill fit: Match Leader, timing, distance, and surface conditions; rarity cannot replace a trigger.
- A crowded group can block a high-stat runner.
- Test a positioning skill if lane access is the suspected issue.
Betweener (Late Surger)
Position: Travels in the middle or second pack and closes after conserving energy.
Plan: Stay near the leaders, avoid traffic, and move while track remains to pass.
Stat focus: Speed and Power support the move; Wit affects eligible checks; Stamina depends on distance.
Skill fit: Look for late speed, acceleration, and lane skills eligible from the runner's position.
- A burst cannot fix a lane that never opens.
- A short track may leave too little room to pass.
Chaser (End Closer)
Position: Runs near the back and tries to pass the field late.
Plan: Save energy, trigger the final move, and close the gap before the finish.
Stat focus: Speed and Power help cover the late gap; Stamina and Wit still matter when the race or skills demand them.
Skill fit: Use late acceleration and Chaser skills only when the course gives them time to matter.
- The plan needs a closing section and a clear path.
- One missed trigger can leave too much ground to recover.
How Umamusume running styles change by race distance
Distance changes each style's cost. A Runner spends energy protecting a long lead; a Chaser needs track for a late pass. Short courses leave less time to recover from a blocked lane.
Treat distance as a constraint, not a fixed stat target. Check energy at the final phase, the closing section, and any corners or slopes that affect passing.
Recovery can change the balance, but does not erase aptitude or skill conditions. Test the full build with the event settings.
| Distance | Style questions | What to inspect |
|---|---|---|
| Sprint | Can the plan win position immediately? | Opening acceleration, lane access, and short skill windows |
| Mile | Can the runner hold pace and still move late? | Speed, Power, Wit, and enough Stamina for the course |
| Medium | Does the position stay useful through the middle phase? | Energy curve, passing space, and recovery timing |
| Long | Can the plan conserve energy and close over the full distance? | Stamina, late mechanics, course shape, and repeated triggers |
Distance labels vary. Use the current race entry and simulator settings.
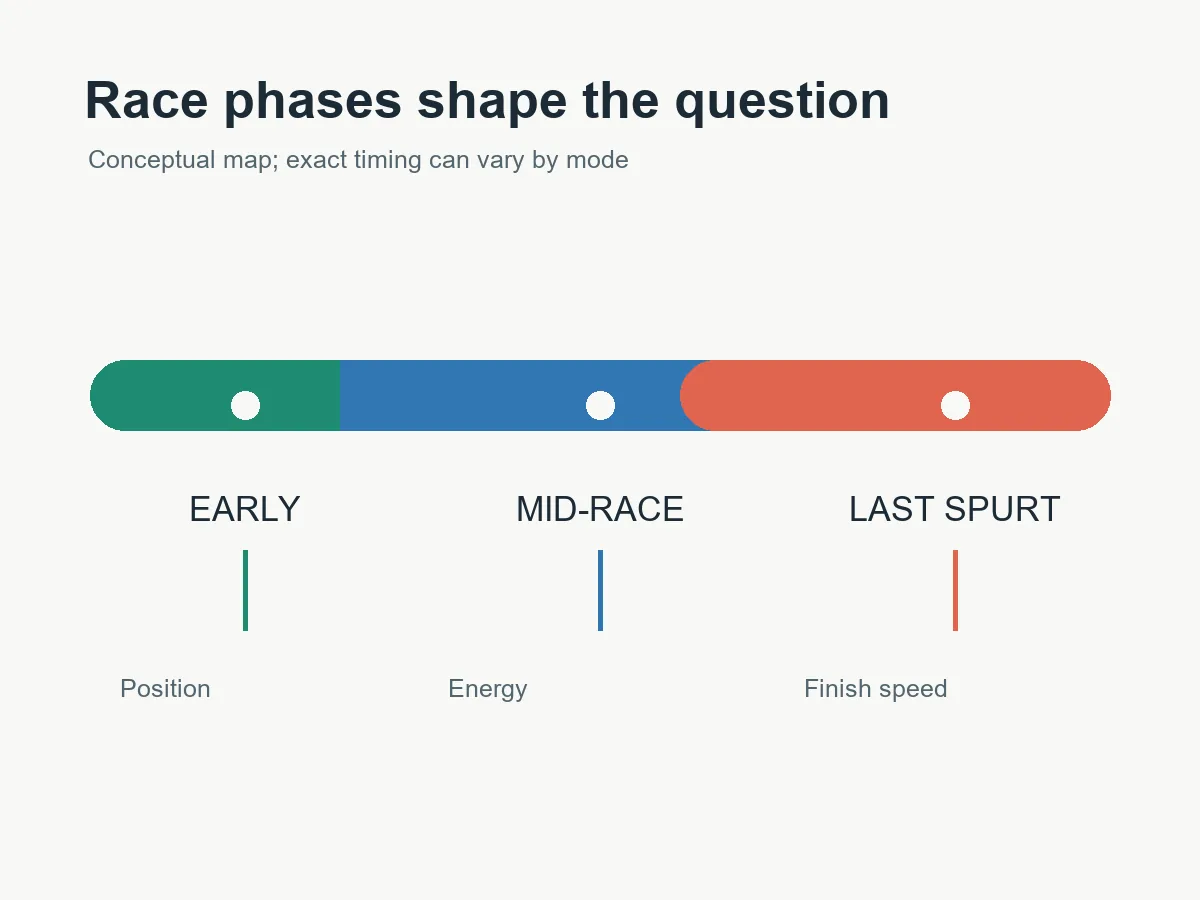
Match skills to the running style
A skill is useful when its eligibility and timing match the job. Check distance, surface, style, position, phase, and cooldown; a runner that never reaches the trigger cannot use it.
Use style as a filter. Front styles need position; late styles need lane access and track to convert acceleration.
A skill can activate while energy or track space remains the problem. A failed trigger may reflect eligibility, not low Wit.
- Confirm the style and distance condition before counting a skill in the plan.
- Pair speed skills with the phase where the runner needs pace, not only the final label.
- Use acceleration when the runner must reach a new speed quickly or pass a group.
- Treat recovery as an energy tool and test whether it changes the actual failure point.
- Record activations across several runs instead of trusting one race log.
Validate the plan in a race simulator
Write a style hypothesis before simulating. Check whether the runner reached the intended position, had energy for the move, and repeated the pattern.
Set the target event as a baseline. Hold course, distance, field, and skills steady while changing one input.
Logs help diagnose lane pressure, energy cost, or a Chaser trigger that came too late.
- Build the baseline. Enter the real course, distance, aptitudes, stats, skills, and strategy.
- Run a sample. Use enough repetitions to see a pattern instead of treating one result as proof.
- Name the failure. Was it position, energy, eligibility, or track length?
- Change one input. Test a stat, skill, or style while preserving other settings.
- Choose the simpler plan. Keep the option that solves the constraint with your available resources.
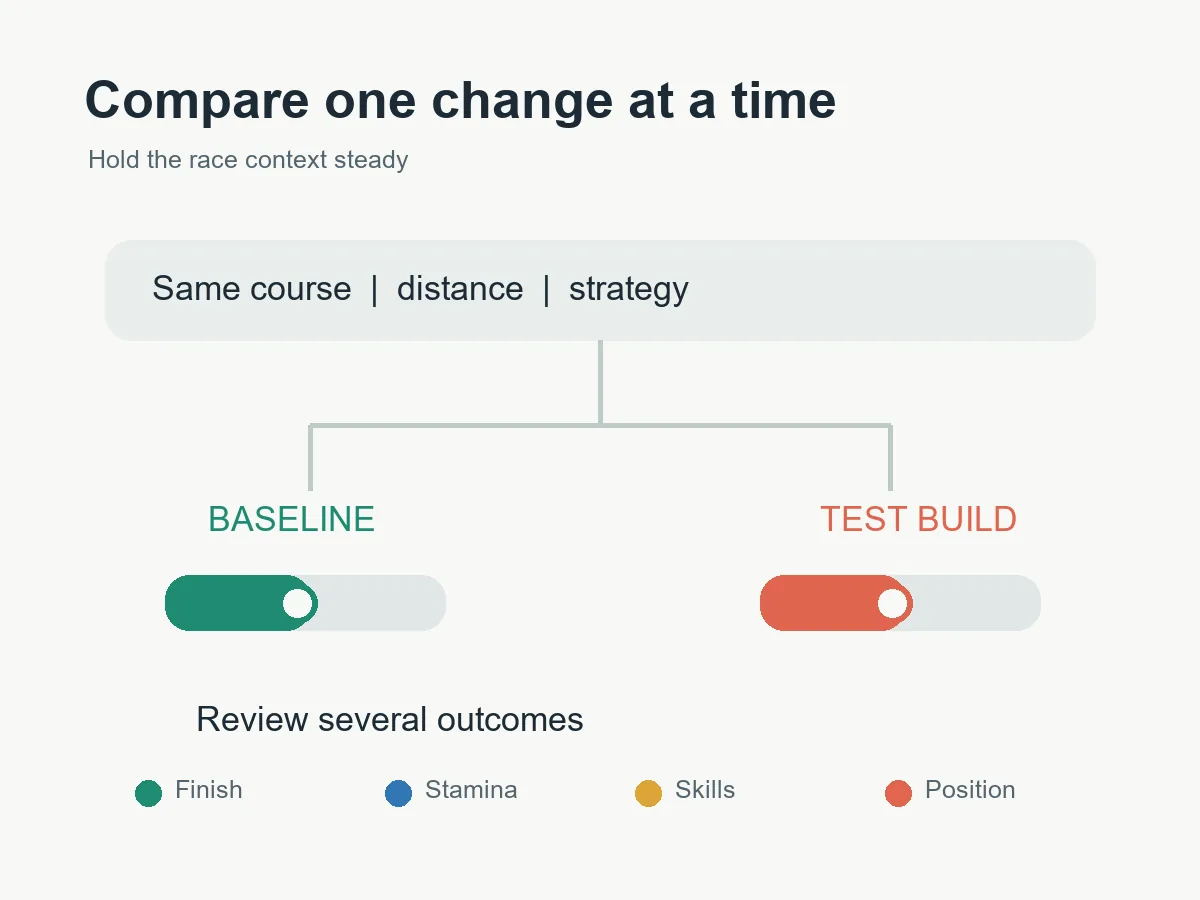
Three practical running-style examples
Use these examples to frame a test, not as fixed build targets.
A Runner loses the lead late
Check energy cost, distance, and rival acceleration. Test Stamina or recovery before adding Speed.
A Leader cannot pass
Inspect lane access, crowding, Power, and skill timing. Test one positioning change; more Speed may not free a blocked lane.
A Chaser finishes strongly but too far back
Check the straight and trigger timing. A closer starting position may fit better than a later burst.
Limits and version differences
Style explanations depend on server, balance updates, and simulator implementation. Treat exact percentages and thresholds as versioned claims.
A character may need another plan when race, deck, inheritance, or skills change. Style does not guarantee a lane, trigger, or win.
When sources disagree, repeat the comparison with recorded settings.
- Check style, distance, and surface aptitude together.
- Do not copy a stat line without copying the race context.
- A single finish is not a win-rate claim.
- Skill rarity does not replace eligibility or timing.
- Recheck old advice after major updates or new race rules.
Common running-style mistakes
- Picking only by tier. A broad ranking cannot see your aptitude, course, skills, or deck.
- Treating position as the only goal. An early lead is not useful if the runner cannot sustain it.
- Ignoring the final straight. Late styles need room to pass.
- Blaming Wit for every failed skill. Check distance, surface, style, position, and phase eligibility first.
- Changing several inputs at once. Test one change to find the real constraint.
Related Umamusume guides and tools
Use the running-style plan as the bridge between mechanics and a finished build:
- Umamusume Stats Guide - to separate Speed, Stamina, Power, Guts, and Wit roles
- Skill Activation Guide - to check eligibility and timing before buying a skill
- Umamusume Stamina Calculator - to test energy assumptions against a target distance
- How to Use Umalator - to enter the plan and read repeatable race results
Sources and image note
Sources are community explanations of position, phase timing, and stat pressure. Exact formulas vary by version; visuals are editorial concepts, not official screenshots.
- Game8: Running Style Differences - Community overview of positions, stat priorities, and distance adjustments for the four styles.
- Note: Understanding Umamusume Race Dynamics - Community analysis of phase speed, position keeping, stamina use, and strategy differences.
- r/UmaMusume: Running Style Explanation - Player discussion used for practical examples and terminology; personal observations are treated as opinion.
Umamusume running styles FAQ
What are the four running styles in Umamusume?
Runner, Leader, Betweener, and Chaser. Guides may also call them Front Runner, Pace Chaser, Late Surger, and End Closer.
Which Umamusume running style is best?
There is no universal best. Choose a style with workable aptitude and a clear job for the target race, then validate it with your course and skills.
Do running styles change stat priorities?
Yes. Runners often need Stamina to defend a lead; Leaders and late styles may need Power to pass. Distance and version still matter.
Can I change a character's running style?
Inheritance can improve aptitude. Check the final rank and whether those resources would solve a more important race constraint.
Why does my Leader get blocked?
Crowding, lane access, or an ineligible passing skill can trap a Leader. Check positioning and timing before blaming the style.
Should I use a Chaser for every long race?
No. A Chaser needs a useful closing section and valid late skills. Another style may pass more consistently on a crowded course.